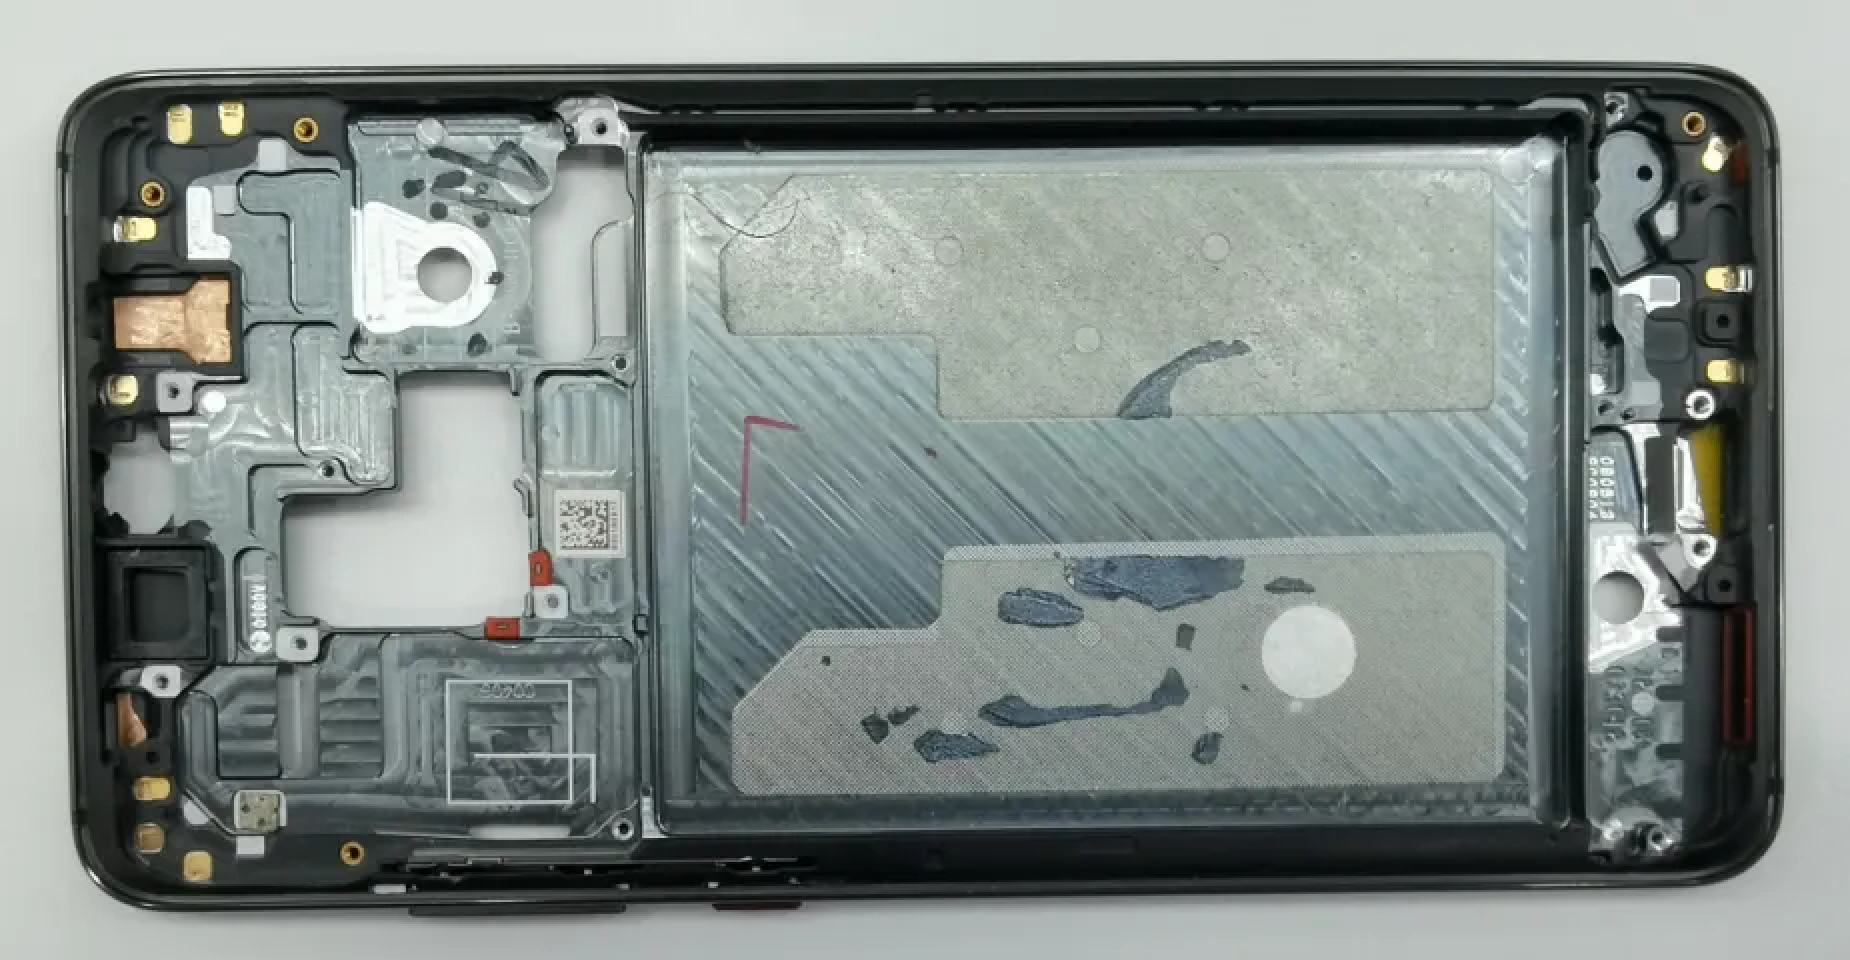
Smartphone Midplate Flatness Measurement
About the Solution
This solution is mainly designed for measuring the surface flatness of the battery compartment in smartphone midplates during precision manufacturing. It ensures that key components can meet the requirements for precision assembly during smartphone production.
Measurement Targets
-
Flatness of the battery compartment’s surface
Measures how flat the surface of the battery compartment is. During smartphone assembly, the surface flatness of the battery compartment directly affects the installation of other components. If the flatness is not up to standard, issues such as light leakage, battery displacement, and poor contact may occur, severely impacting the appearance and overall quality of smartphones.
-
Height of locating holes
The locating hole height refers to the vertical distance from the center point of the top surface of the locating hole to the battery compartment’s surface, which determines the distance between the battery and other components after installation. The accurate measurement of the height of locating holes can prevent the battery from being over-squeezed during assembly, thereby avoiding issues such as battery deformation and damage (battery swelling, a short circuit, etc.).

Measurement Challenges
This solution can meet the following challenges:
-
Data acquisition: The smartphone midplates are precisely designed, with a complex surface structure, including multiple holes, grooves, and irregular structures. During image acquisition, it is necessary to avoid occlusion and reflection interference to ensure data accuracy.
-
Measurement accuracy: The surface flatness measurement for the battery compartment of smartphone midplates requires extremely high precision, and the measured results should reach the micron level to ensure assembly quality.
-
Production efficiency: The 3D laser profiler should be able to quickly scan a large area, and the Mech-MSR software should be able to process data efficiently to ensure the cycle time of production while ensuring high accuracy.
Key Technical Specifications
The key technical specifications of the solution are as follows:
-
Repeatability: within 8–12 μm.
-
Cycle time: The cycle time of measurement should be no more than 2 seconds.
| In different application scenarios, key technical specifications may vary and should be adjusted flexibly according to the actual situation. |
Solution Design
According to project requirements, the sensor head of a Mech-Eye 3D laser profiler should be fixed above the target object. Make sure the sensor head faces the target object and adjust its tilt to fit the working space and scan the whole target as much as possible.
Hardware and Software Requirements
-
Mech-Eye 3D Laser Profiler + Mech-Eye Viewer software
Quickly scans the surface of an object and generates surface data (including depth map and intensity image).
-
Mech-MSR software
Obtains and processes surface data and calculates the flatness and height.
Deployment Process
| Before deploying the solution, you need to get the Smartphone Midplate Flatness Measurement solution from Mech-MSR’s solution library. See Quick Guide to Solution Library to learn how to get the solution. |
The deployment process of the solution is as follows:

-
Build the software and hardware environment to acquire and view image data.
-
Align the surface data before filtering to narrow down the data range.
-
Calculate the flatness of the battery compartment’s surface and the height of locating holes.
-
Set the acceptable ranges for measurement items and output measurement and inspection results.
Next, you can get started with solution deployment.