Pre-labeling Feature (Available after Model Validation)
Description
After you validate a model, you can import new image data to the current module and use the pre-labeling feature to perform auto-labeling based on this model. You can fine-tune the results after labeling is completed.
Prerequisites
The pre-labeling feature is available only when the current module contains validated models.
Suitable Applications
-
Supported modules: Instance Segmentation, Object Detection, Classification, Defect Segmentation, and Text Detection.
-
The pre-labeling feature can be performed only on the following three types of data:
-
Unlabeled data
-
Automatically labeled data (images with a yellow triangle at the front of the image number)
-
Manually fine-tuned data after automatic labeling (images with a yellow triangle at the front of the image number)
-
| If you need to pre-label images that are already manually labeled, you must clear these labels before use. |
| The pre-labeling feature can outstandingly reduce the cost of manual labeling. However, the accuracy of the results depends on the model that you use. We recommend that you train a high precision model before you use the pre-labeling feature. |
Performance Results
A yellow triangle will be displayed at the front of the sequence number of each pre-labeled image. If you fine-tune the results of pre-labeling, these images are still considered as pre-labeled, and the yellow triangles do not disappear.
|
Instructions
You can use one of the following three methods to perform the pre-labeling operation.
-
Method 1: use the Pre-labeling Tool in the labeling toolbar to automatically label a single image.
-
Method 2: click the Pre-label button in the upper part of the image list to automatically label images in batches.
-
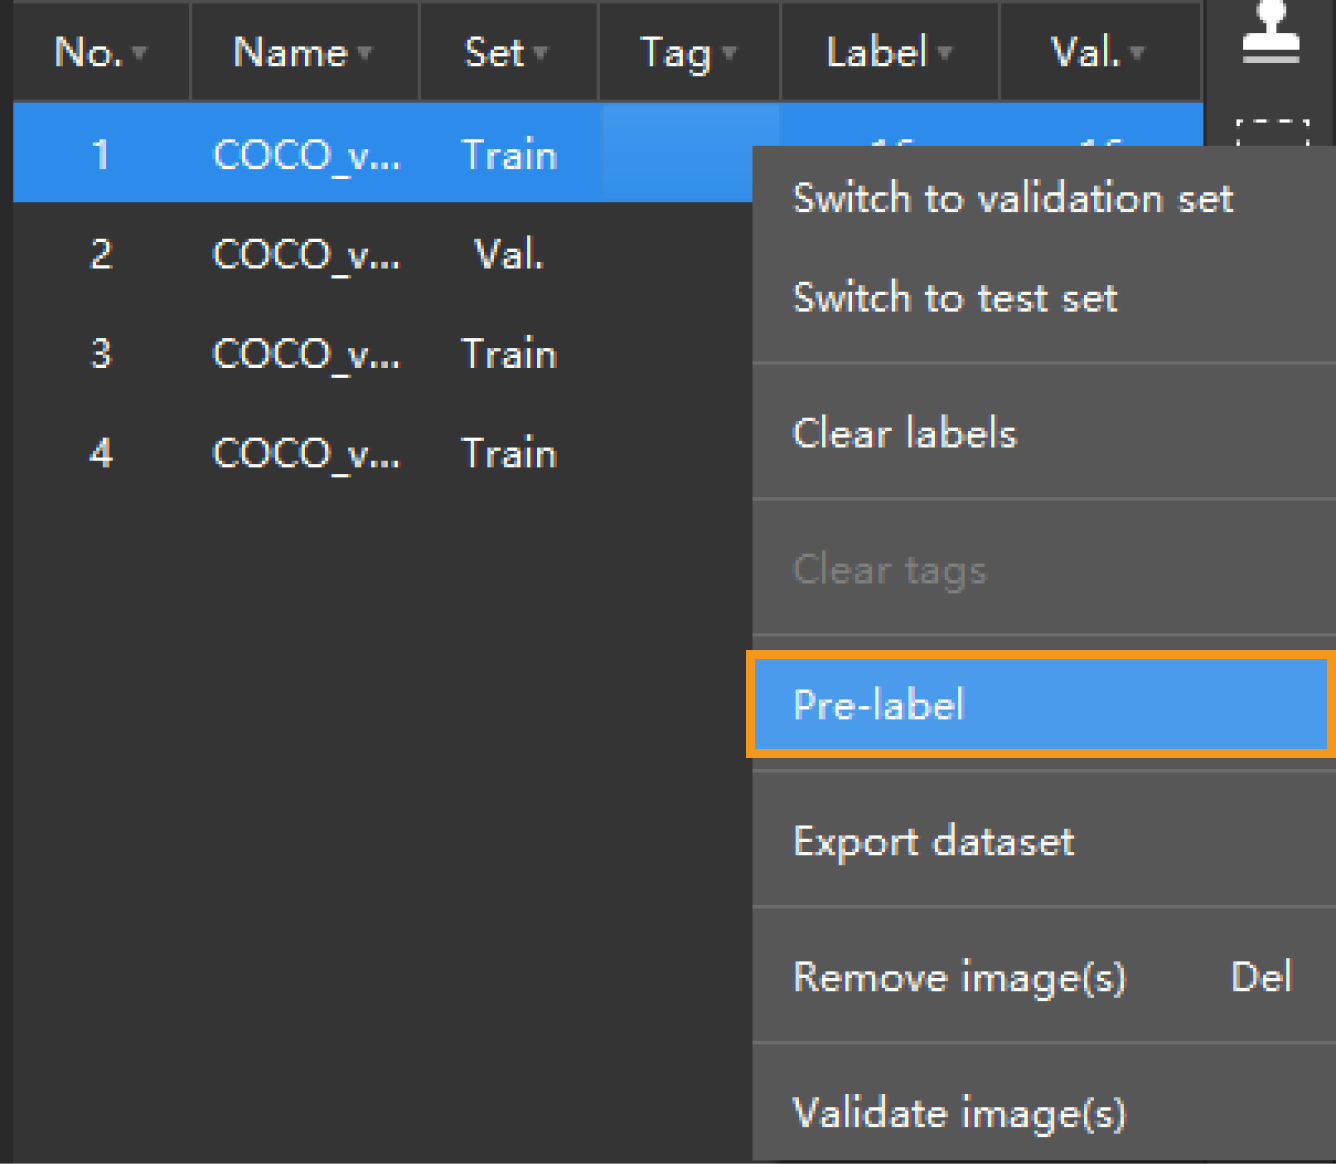
Method 3: right-click an image in the image list and select Pre-label in the menu to automatically label the selected images.
| If an image is already labeled, a new label will replace the original label after each pre-labeling is performed. |
Method 1: Pre-labeling Tool
-
In the labeling toolbar, right-click
 , then click
  (or press T on the keyboard) to select the Pre-labeling Tool.
In the Classification and Text Detection modules, you can click  in the labeling toolbar (or press T on the keyboard) to select the Pre-labeling Tool.
-
Click Start labeling on the upper part of the displayed image to enable automatic labeling for this image.
